News
HOW TO ASSEMBLE WAX TREES DURING LOST WAX CASTING PROCESS
Tweet
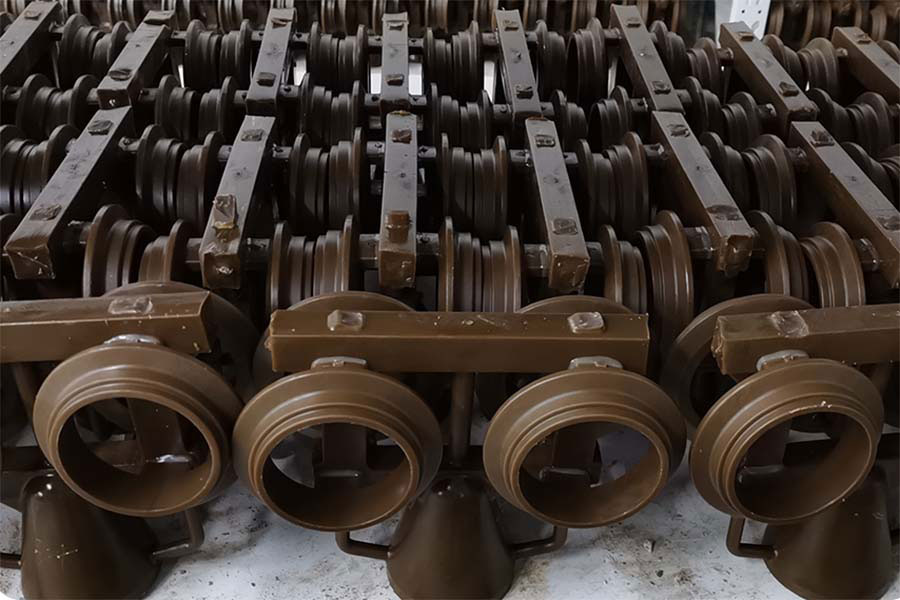
During lost wax casting process, to assembly the wax tree(s) is an important work. It will influent the quality of the raw castings and the fluidity of the molten metals, especially for the steel alloys. Here in the following we will try to introduce the basic steps of assemblying the wax tree.
1- Visually inspect all wax models again to ensure 100% qualification.
2- Select an appropriately sized steel flask. You will need an inch of clearance around your pattern and between the tip of the sprue and the top of the flask.
3- Select the runner type according to the casting process and technical regulations. Select an appropriately sized steel flask. You will need an inch of clearance around your pattern and between the tip of the sprue and the top of the flask.
4- Check the wax runner (die head) to ensure that it is qualified. Attach the tree (the sprue, gate pattern assembly) to a piece of masonite or plywood by the pouring cup. You will need to melt the pouring cup onto the board so it sticks. A board with a rough surface (such as masonite) works best.
5- Install a cleaned cover plate on the gate cup of the qualified wax runner, and ensure that it is smooth and seamless. If there is a gap, use an electric soldering iron to flatten the gap to prevent the slurry from flowing into the shell.
6- Use bonding wax or electric soldering iron for welding. Place the wax runner (die head), and weld the wax mold neatly and firmly according to the technical regulations, and stick it on the runner (die head).
7- On the gate cup of the assembled wax module, mark the identification mark according to the metal material specified in the process. Place the cylinder around the tree, and insure that you have good clearance. Create a wax fillet on the outside of the flask between the flask and board. A nice way to do this is with a disposable 2” paint brush. Dip the brush in molten wax and brush around the base of the flask to create a fillet. This fillet will seal in the plaster so that it doesn’t seep out. If you don’t have a brush, you can cut slivers of wax and melt them around the base, then hit the fillet with a propane torch to improve the seal.
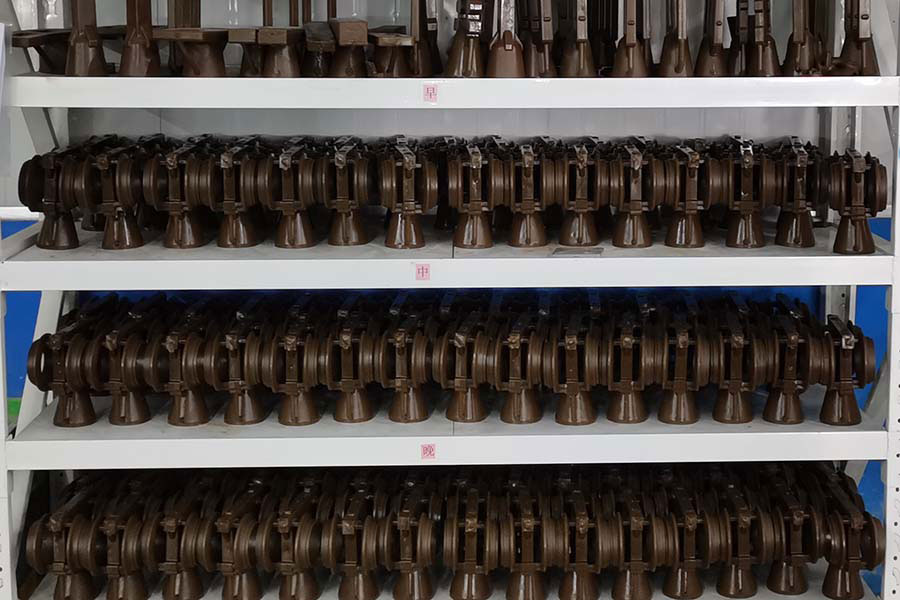
8- Use compressed air to blow off the wax chips on the module. The module is hung on the transport cart and sent to the mold washing process. After the work is completed, clean up the site.
Precautions for Assemblying Wax Trees:
1- The welding of wax mold and runner should be firm and seamless.
2- The wax patterns welded on the same group of wax modules must be of the same material.
3- If there is wax droplets on the wax mold, scrape the wax droplets clean.
4- Pay attention to safety, and cut off the power supply after work. And do a good job in safety and fire prevention.
Source: steel-foundry.com
Tweet
Related News
- Brazil and China should cooperate in the field of environmentally friendly steel: study
- Germany increased steel production by 4.8% y/y in February
- Global high-grade iron ore market is set to grow
- Global iron ore exports rise modestly in CY'25 as Brazil drives growth
- Iron ore prices rose by nearly 7% in March amid supply risks
- China expands restrictions on iron ore imports from BHP
- Germany - Trimet Aluminium’s Essen foundry reaches 10 million tonnes aluminium casting milestone
- Here's the Top 15 List of Pig Iron Companies 2026
- See all News